

Overview and DIY Installation Feasibility
Cabinet handles are one of the most impactful yet underrated elements of cabinet design. They serve both functional and aesthetic purposes—providing grip points for opening doors and drawers while contributing significantly to the overall style of your kitchen or bathroom. When your existing handles show wear or no longer match your décor, replacing them offers a straightforward way to refresh your space without the expense or disruption of a full cabinet renovation.
Modern cabinet handles have evolved to prioritize user convenience, and brands like AMERDECO cabinet handles exemplify this trend by engineering products with installation simplicity in mind. These contemporary designs recognize that homeowners want solutions they can implement themselves, which is why AMERDECO cabinet handles feature straightforward mounting systems that eliminate unnecessary complexity. The designed for easy installation approach means fewer steps, clearer instructions, and less frustration during the upgrade process.
One of the most encouraging aspects of handle installation is that it qualifies as a genuine DIY upgrade within reach of most homeowners. You won't need specialized equipment or advanced skills—just standard household tools like a drill, screwdriver, and measuring tape are typically sufficient. Some installations may benefit from professional tools like a template jig for precise hole alignment, but these are optional enhancements rather than requirements. The simple installation process of quality modern cabinet handles means that basic installation can often be completed in an afternoon, making this one of the most accessible home improvement projects available.
The appeal of easy installation extends beyond mere convenience. A simple installation process reduces the likelihood of mistakes, minimizes the risk of damaging your cabinets, and allows you to work at your own pace without pressure to hire outside help. Whether you're upgrading a single cabinet or refreshing an entire kitchen, the accessibility of handle installation with standard household tools makes this a practical choice for anyone seeking meaningful aesthetic improvement without complexity or significant expense.
Essential Tools and Equipment for Installation
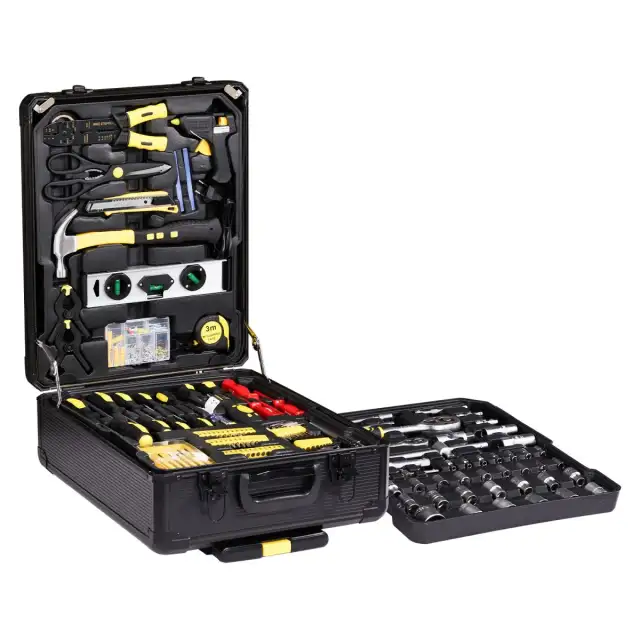
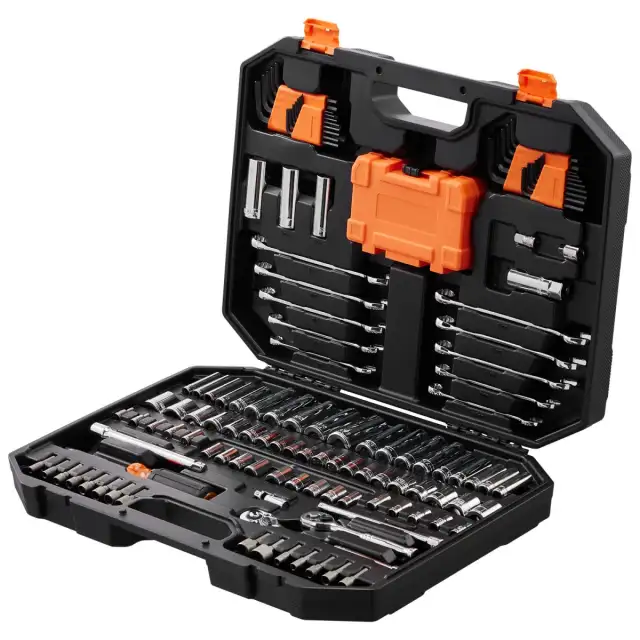
Before beginning your cabinet handle installation, gathering the right tools ensures the work proceeds smoothly and your cabinets remain undamaged. A measuring tape is essential for determining exact distances between mounting holes, whether you're following existing hole patterns or establishing new ones. Accuracy at this stage prevents misaligned handles that look crooked or feel uncomfortable to grip. A sharp pencil marks hole locations clearly on your cabinet surface, providing a visible guide for drilling. Unlike pen or marker, pencil marks can be easily erased if you need to adjust your measurements, making it the practical choice for layout work.
A screwdriver completes the basic toolkit required for most handle installations. Depending on your handle hardware, you'll typically need either a Phillips head or flathead screwdriver—many installations use Phillips head fasteners. Having both types on hand eliminates the need to stop mid-project searching for the correct tool. Beyond these three essentials, a power drill with appropriate bit sizes accelerates the hole-drilling process, though a hand drill works equally well if you prefer a manual approach. A level can help ensure handles align properly across multiple cabinets, and a small flashlight proves useful when working inside cabinet interiors or in dimly lit spaces. These supplementary tools enhance precision and comfort but remain optional if your installation involves straightforward handle replacement on existing holes.
Drilling Templates and Accuracy Considerations
A drilling template is a guide that helps you position holes with precision before you pick up your drill. Two common types serve this purpose: a paper template that you print or trace onto your cabinet surface, and a metal hole template that physically guides your drill bit to the exact location. The paper template approach involves marking hole locations on paper, taping it to your cabinet, and drilling through the marked points. A metal hole template works differently—you position it against your cabinet surface, and the metal guides ensure your drill bit enters at precisely the right angle and depth. Both approaches accomplish the same goal: preventing mistakes that could leave unwanted holes in your cabinetry.
The primary purpose of using a drilling template is achieving reliable hole alignment and hole matching across multiple cabinets. When you're installing handles on several cabinet doors or drawers, consistent spacing and positioning create a professional, polished appearance. Hole matching becomes especially important if you're replacing existing handles—you want new holes to align perfectly with old mounting points so fasteners sit flush and handles hang straight. A drilling template ensures accuracy by removing guesswork from the process, which is particularly valuable when you're working with unfamiliar cabinet layouts or handle styles.
Industry accuracy standards typically allow for a 1/8 inch tolerance in hole positioning, meaning holes can vary slightly without causing visible misalignment or functional problems. However, staying within this tolerance requires careful measurement and consistent technique. Template verification—checking that your template matches your actual handle specifications before drilling—prevents the frustration of discovering mismatched holes after you've already made them. Taking a moment to verify template dimensions against your handle hardware specifications is a simple step that protects your investment in both time and materials.
Whether a drilling template is included in box with your handles depends on the manufacturer and product line. Some handle sets provide templates as standard accessories, while others offer them as optional purchases. Templates are not always required for successful installation, particularly if you're replacing handles in existing holes or working with straightforward single-hole mounting systems. However, when you're establishing new hole patterns, installing handles on multiple cabinets, or working with less common mounting configurations, a drilling template becomes a valuable tool that significantly improves your results and confidence throughout the installation process.
Step-by-Step Installation Process
The installation sequence for cabinet handles follows a logical progression that minimizes errors and ensures professional results. Begin by examining your cabinets to determine whether you'll use existing mounting holes or create new ones. This initial assessment shapes your entire approach and determines which tools you'll prioritize. The installation procedure typically unfolds across three distinct phases: preparation and measurement, drilling, and final assembly. Understanding this structure helps you work methodically rather than jumping between tasks, which reduces mistakes and keeps your workspace organized.
Start the installation procedure by carefully measuring your cabinet surface. You'll need to measure CC spacing, which refers to the center-to-center distance between the two mounting holes where your handle will attach. This measurement is critical because it determines whether your new handle will fit your cabinet's existing holes or if you need to drill new ones. Use your measuring tape to find the distance between current hole centers, or consult your new handle's specifications to understand what spacing it requires. Once you've determined the correct CC spacing, mark hole positions on your cabinet surface using a sharp pencil. Position these marks carefully, as they guide your drilling and directly affect how your finished handle will look. Take time to verify your measurements before proceeding—this is far easier than correcting misplaced holes afterward.
The drilling phase depends on your specific situation. If your new handles use the same CC spacing as your existing holes, you may not need to drill at all. However, if the spacing differs or you're installing handles on a cabinet without previous mounting holes, drill if necessary to create new openings. The decision to drill represents conditional drilling—you only proceed with drilling when your measurements indicate it's required. When drilling becomes necessary, use a drill bit that matches your handle's mounting bolt diameter. Position your drill perpendicular to the cabinet surface to ensure holes go straight through without angling. Drill slowly and steadily, allowing the bit to do the work rather than forcing it. If you're drilling through the back of a cabinet door, place a piece of scrap wood underneath to prevent splintering on the exit side.
With holes prepared, move to the final assembly phase where your handle comes together with your cabinet. Position your handle against the cabinet, inserting mounting bolts through the holes you've either used or created. Before securing anything permanently, align handle to ensure it sits straight and level. Check that the handle orientation matches your preference—some handles can be installed in different positions, and you want to confirm the placement before tightening. Verify proper alignment by stepping back and examining the handle from different angles. A handle that appears straight when viewed from directly in front may angle slightly when seen from the side, so take a moment to assess handle alignment from multiple perspectives. Once you're satisfied with the positioning, tighten screws firmly but without excessive force. Over-tightening can crack cabinet material or strip bolt threads, while under-tightening leaves handles loose and wobbly. Apply steady pressure as you tighten screws, stopping when you feel solid resistance. The goal is secure screw tightening that holds your handle firmly in place without damaging the mounting hardware or cabinet surface.
Cabinet Pull Sizing and Selection Guide
Understanding the dimensions of your cabinet pull is the foundation of successful selection and installation. Three key measurements define how a cabinet pull will function and appear on your cabinets: pull length, handle length, and pull size. The pull length refers to the overall measurement from one end of the handle to the other, while handle length describes the usable gripping portion—the part you actually hold when opening a door or drawer. Understanding the distinction between these measurements helps you visualize how the handle will look and feel on your specific cabinets. Pull size encompasses both these dimensions plus the depth of the handle's profile, giving you a complete picture of the physical space the handle will occupy on your cabinet surface.
A practical sizing guide begins with measuring your cabinet doors and drawers to understand what proportions work best. Smaller cabinet doors typically pair well with cabinet hardware that measures between 2 and 3 inches in pull length, while larger cabinet faces can accommodate handles ranging from 4 to 8 inches or more. The relationship between your cabinet size and handle size creates visual balance—oversized handles on tiny drawers look awkward, just as tiny handles on large cabinet doors appear lost and insignificant. Your selection criteria should include this proportional relationship as a primary consideration. Beyond aesthetics, ergonomic comfort matters: a handle that's too small forces your fingers into an uncomfortable grip, while one that's too large may not fit comfortably in your hand. Testing different pull size options in person, when possible, helps you understand which dimensions feel natural for your grip and movement patterns.
When choosing right size handles for your installation, cabinet compatibility must guide your decisions. Different cabinet styles have established conventions for handle length and pull length that reflect both functional needs and design traditions. Modern minimalist cabinets often feature sleek, understated handles with modest pull size, while traditional or transitional cabinetry typically accommodates larger, more ornate cabinet hardware. Your existing cabinet construction also influences what works: the thickness of your cabinet doors, the material composition, and the spacing between mounting holes all affect which cabinet hardware options are viable. Consulting your cabinet manufacturer's specifications or examining similar cabinets in showrooms provides valuable reference points for understanding what pull size range suits your particular installation. The sizing guide you follow should account for these cabinet compatibility factors rather than treating handle selection as a purely aesthetic choice divorced from your cabinet's actual design and construction.
Cabinet Hardware Sizing and Finish Specifications
Hardware sizing forms the foundation of successful cabinet hardware selection, as the dimensions of your handles directly influence both functionality and visual appeal. Sizing encompasses several interconnected measurements that determine how a handle performs on your cabinets. The center-to-center distance between mounting holes—often abbreviated as CC spacing—represents the most critical sizing specification because it dictates whether your chosen handles will fit your existing cabinet holes or require new drilling. Beyond hole spacing, hardware specifications include the overall length of the handle, the depth of its profile, and the diameter of mounting bolts. These hardware specifications work together to create the complete picture of how your handle will integrate with your cabinet doors and drawers. When evaluating hardware selection, comparing these hardware specifications against your cabinet's actual dimensions ensures compatibility and prevents the disappointment of purchasing handles that don't fit properly.
A systematic approach to hardware selection begins with understanding your cabinet's existing hole configuration. Measure the distance between current mounting holes to determine your cabinet's CC spacing requirement. This measurement then guides your hardware sizing decisions—you can either select handles with matching spacing to use existing holes, or choose handles with different spacing and plan for new drilling. Smaller cabinet doors and drawers typically work best with hardware sizing in the 2 to 3-inch range, while larger cabinet faces can accommodate handles measuring 4 to 8 inches or more. The relationship between your cabinet proportions and handle dimensions creates visual harmony; oversized handles on small drawers appear clumsy, while undersized handles on large doors look insignificant. Your hardware selection should also consider grip comfort—handles that are too small force an awkward finger position, whereas handles that are too large may not fit naturally in your hand. Testing different options in person, when possible, helps you understand which sizing feels most comfortable for your actual use.
Finish specifications determine the visual character and durability of your cabinet hardware, making this selection equally important as sizing. The finish you choose affects how your handles coordinate with your cabinet style, kitchen or bathroom décor, and other hardware elements like hinges and knobs. Finish options available in today's market range from classic to contemporary, offering flexibility for nearly any design preference. Polished chrome provides a bright, reflective surface that suits modern and transitional spaces, while brushed nickel delivers a softer, more understated appearance that works well with contemporary and minimalist designs. Oil-rubbed bronze creates a warm, traditional aesthetic that complements classic and farmhouse cabinetry, whereas stainless steel offers a sleek, professional look appropriate for both residential and commercial settings. Matte black has emerged as a popular finish choice for contemporary interiors, providing bold contrast and visual interest. Each finish option carries different maintenance requirements—some finish options show fingerprints more readily than others, and certain finish types require specific cleaning approaches to maintain their appearance over time.
Selecting the appropriate finish involves considering both aesthetic goals and practical durability. Finish specifications should align with your cabinet material and existing kitchen or bathroom hardware to create a cohesive design scheme. If your faucet, light fixtures, or other metal elements feature a particular finish, coordinating your cabinet hardware with that finish creates visual continuity throughout your space. The durability of different finish options varies significantly—high-traffic kitchens benefit from robust finish choices like stainless steel or powder-coated options that resist fingerprints and wear, while less-used cabinets can accommodate more delicate finish treatments. Finish specifications also influence how your handles age; some finish options develop a patina over time that many homeowners find attractive, while others maintain their original appearance with proper care. Understanding these characteristics helps you make hardware selection decisions that satisfy both your immediate design vision and your long-term expectations for how your handles will look and perform.