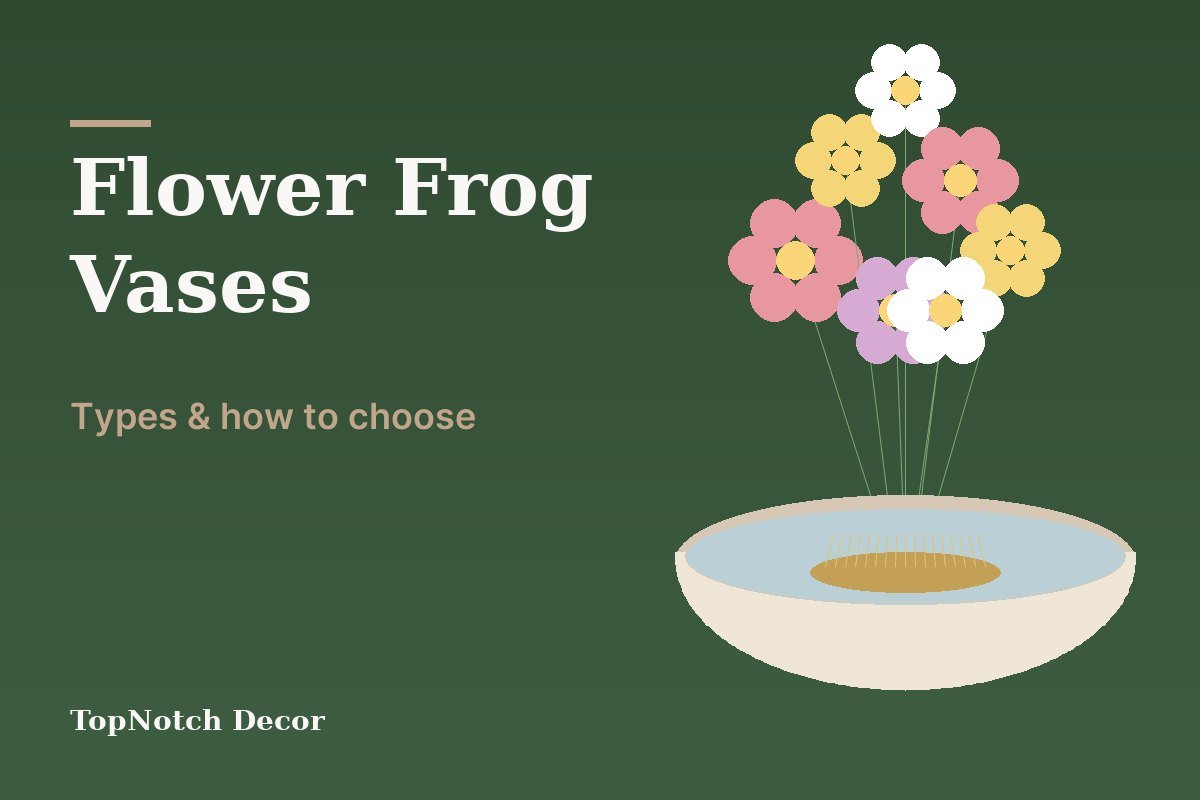

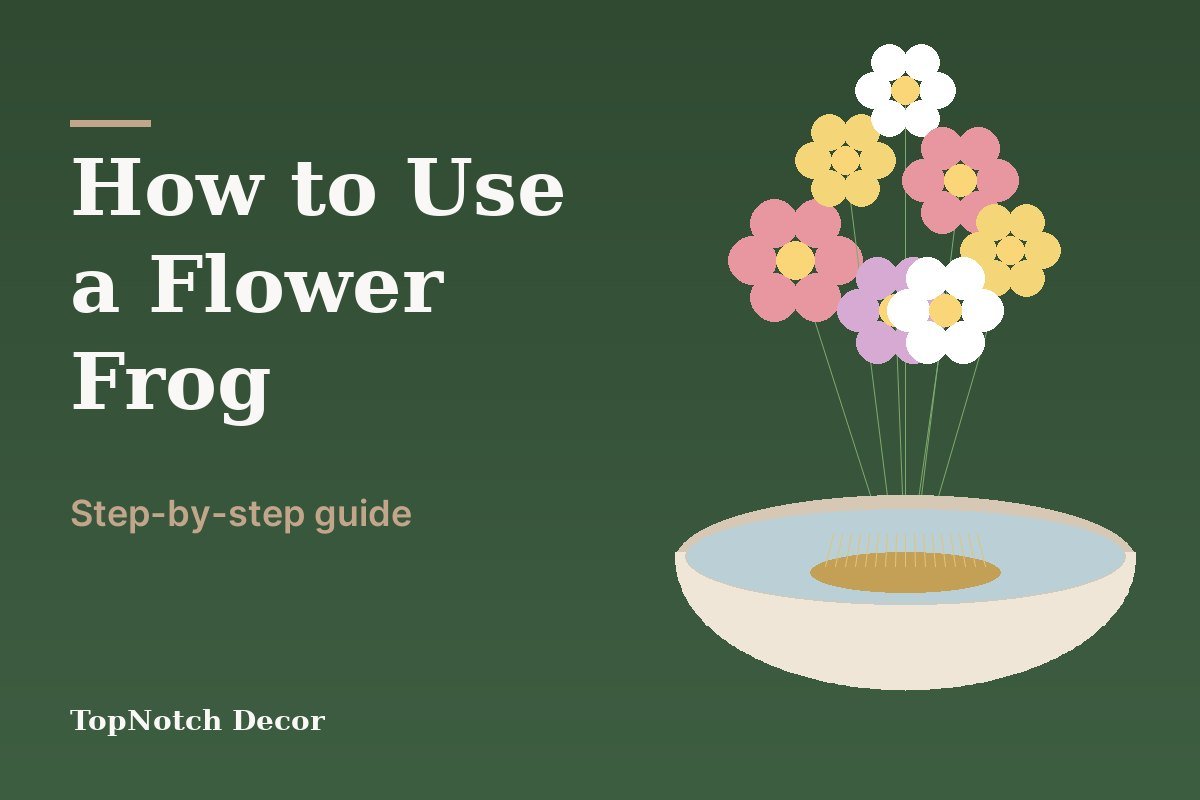
A flower frog looks simple, and it is, but a few small habits make the difference between a loose, natural arrangement and a frustrating tangle. This guide walks you through every step, from choosing a container to caring for your blooms afterward.
New to frogs? Start with our overview, Flower Frog Vases: What They Are, Types & How to Choose. Not sure what size you need? Use the free Flower Frog Size Calculator before you start.
What you will need
- A container: a shallow bowl, low vase or dish with a flat, dry bottom
- A flower frog that suits your container and stems (see below)
- Floral putty or waterproof floral clay
- Sharp scissors or secateurs
- Fresh flowers and foliage, conditioned and ready to arrange
- Clean water
Before you start: prepare your flowers
Good preparation helps any arrangement last longer. Cut your stems with clean, sharp scissors, remove any leaves that would sit below the waterline and give the flowers a long drink of fresh water before you arrange them. Branches and woody stems benefit from a short soak. Sort your stems by height and role (tall structure, focal flowers, fillers and foliage) so you can reach for the right one as you build.
Step 1: Choose a container
A wide, shallow container is the easiest place to begin. A bowl or dish with a smooth, flat base gives the frog a stable surface to sit on. Tall cylinders can work too, provided the opening is wide enough to reach the bottom.
Measure the inside of the base rather than the outside, since thick glass or ceramic takes up room. The right frog is roughly one third to one half the width of that inside base. If you would like the number worked out for you, the calculator takes the guesswork out.
Step 2: Pick the right frog
Match the frog to your stems:
- Thin stems (sweet pea, cosmos): a pin frog or a grid frog.
- Medium stems (tulips, roses): a pin frog.
- Thick or woody stems (branches, peonies, hydrangeas): a heavy pin frog or a cage frog.
If you plan an ikebana-style arrangement, a pin frog is the traditional choice.
Step 3: Secure the frog
This is the step most people skip, and it is the one that stops the frog from sliding around while you work.
- Dry the base of the frog and the inside bottom of the container completely.
- Roll three or four small pieces of floral putty into balls or short ropes and press them onto the underside of the frog.
- Press the frog firmly onto the bottom of the container and twist it slightly so the putty seals. Hold for a few seconds.
If you have a very large frog or you plan to use heavy branches, add a little extra putty around the edges.
Step 4: Add water
Fill the container with clean water. The water should sit at least 1 inch (2.5 cm) above the tips of the pins, so that every stem is well submerged. Add the water after the frog is secured, not before, because putty will not stick to a wet surface.
Step 5: Place the structural stems first
Begin with the stems that give the arrangement its shape: a tall branch, a trailing stem, or the main focal flowers. For an ikebana-style design, the first and tallest stem (shin) is traditionally about one and a half times the bowl’s diameter plus its height, with the second (soe) at three quarters of that and the third (hikae) at three quarters of the second.
To place a stem on a pin frog, cut it at a sharp angle, then press it down onto the pins with a firm, steady push. Lean it in the direction you want it to point. For thick, woody stems, a small vertical split in the end helps them take up water and sit better on the pins.
Step 6: Build the body of the arrangement
Add your main flowers next, working around the structure you have built. Vary the heights so some blooms sit low near the rim and others rise higher. Cut stems a little longer than you think you need, since you can always trim them. A helpful starting point for a low centerpiece is to keep the tallest stem at about one and a half times the bowl’s width.
Step 7: Fill in and finish
Tuck in smaller flowers and foliage to cover the frog and any visible mechanics. Leave some gaps; negative space is a big part of what makes frog arrangements look natural. Turn the bowl and check it from every side, then give the stems one last adjustment.
One-sided vs all-round arrangements
You can build either. A one-sided arrangement, designed to be seen from the front, is ideal for a mantel, console or windowsill, and works well with the frog set slightly toward the back. An all-round arrangement, designed to be seen from all sides, suits a dining table, so place the frog in the centre and balance the stems all the way around.
Common mistakes to avoid
- Skipping the putty. A frog that slides is the most common frustration.
- Wet surfaces. Putty will not bond to wet glass or ceramic, so dry everything first.
- A frog that is too small. If it holds only a few stems, you will end up crowding them or leaning them against the side of the bowl.
- Too few water inches over the pins. Stems that sit near the top of the pins can dry out quickly.
- Dull scissors. Crushed stem ends do not drink well and are harder to push onto the pins.
- Pushing stems straight down. Angle them; the point of a frog is that you can control the lean.
Troubleshooting
- Stems will not stay upright. They may be too thin for the pins. Try a grid frog, bundle two or three thin stems together on one spot, or use a smaller needle spacing.
- The frog tips or slides. The surfaces were probably damp. Dry both, replace the putty and press harder. A heavier frog also helps.
- The arrangement looks sparse. Add foliage, trailing stems or a few smaller blooms, or move up to a larger frog so you can use more stems.
- The frog is visible. Tuck foliage, moss or a few stems over the edges, or choose a bowl with a slightly deeper rim.
- Stems look cramped on the frog. The frog is too small for the number of stems. Use fewer stems or step up one size.
Aftercare
Top up the water daily, since shallow bowls can dry out surprisingly quickly. Remove any flowers that fade first so they do not spoil the water. When the arrangement is finished, lift the frog out, peel off the old putty, rinse the pins and let the frog dry before storing it. Cheap, uncoated metal frogs can rust, so dry them thoroughly; brass, stainless steel and coated frogs are more forgiving.
Curious how a frog compares with foam? Read Flower Frog vs Floral Foam: The Eco-Friendly Choice, and for the full size reference see our Flower Frog Size Guide.
Frequently Asked Questions
How do I stop a flower frog from moving?
Dry the frog and the vase bottom, press small pieces of floral putty onto the frog, then press it firmly into place before adding water. Heavier arrangements may need extra putty.
Can I use a flower frog without putty?
You can, especially with a heavy pin frog in a flat-bottomed bowl, but putty makes it far less likely to shift as you add stems. It is inexpensive and easy to remove.
How many flowers will one flower frog hold?
That depends on the size of the frog and the thickness of the stems. As a rough guide, a 2.5 inch pin frog holds about 32 thin stems, 14 medium stems or 6 thick, woody stems. Our calculator gives a figure for your own frog.
Do I need a flower frog in a tall vase?
Not always. A frog helps most in wide, shallow containers. In a tall vase, it can still help you position stems, as long as the opening is wide enough to get it to the bottom.